Have you heard the news? Google added a new ranking factor for organic search called Core Web Vitals, and now your website needs to be fast to challenge your competitors. But how do you run a WordPress website speed test?
Luckily, testing how fast your website is loading for your visitors is very easy.
In this article, we’ll show you how to test and monitor your WordPress website’s speed, plus give you a few recommendations about what you can do with the results.
Core Web Vitals: Why Site Speed Matters
In the spring of 2021, Google rolled out a search algorithm update that made speed an even bigger ranking factor than it was before. The update was all about “page experience,” which is the experience a user has when visiting your page. Does the page load quickly and completely? Does it shift at all while loading? How long does it take until the user can interact with the page?
These new speed metrics are called Core Web Vitals. They include three different scores, all based on different factors of how quickly your page loads.
Your scores are then combined to make one overall site speed score. This score can be the difference between you and a competitor ranking first. If your other ranking factors are similar but their website scores much better on Core Web Vitals, they’ll likely rank above you in Google search.
Plus, it’s been shown that users get frustrated quickly when a website doesn’t load fast enough, and will hit the back button even quicker than you’d think.
How to Test WordPress Site Speed
The best, easiest way to test your WordPress site speed is by using ExactMetrics.
To quickly and easily test your site’s speed and then monitor it often right in your WordPress dashboard, we highly recommend using the ExactMetrics plugin.
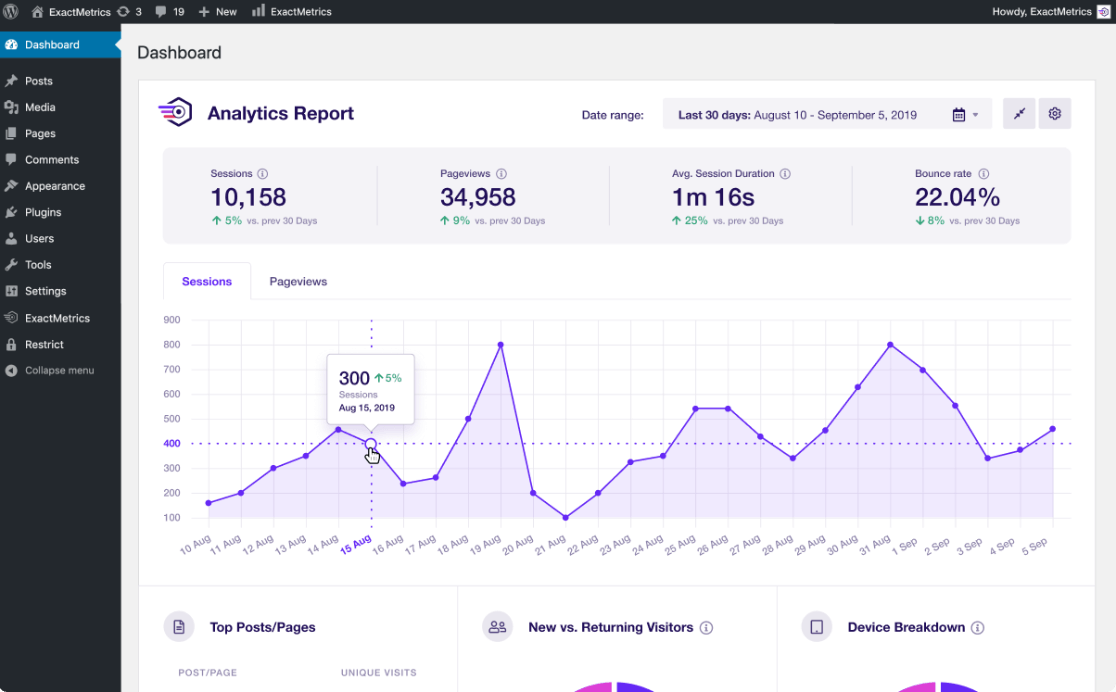
ExactMetrics is the best premium WordPress analytics plugin. With ExactMetrics, you can track your website’s speed right in your WordPress dashboard.
Our most popular features include:
- Site speed report
- Top outbound and top affiliate link clicks
- GDPR compliance
- Scroll tracking
- Form tracking
- Easy enhanced ecommerce tracking
Let’s go over step-by-step how to use ExactMetrics to easily check and monitor your website’s speed.
Already have ExactMetrics installed? Skip to step 3.
Step 1: Install ExactMetrics
So to start, head to the Pricing page and get started with ExactMetrics at the Plus level or above. Once you complete checkout, download the plugin.
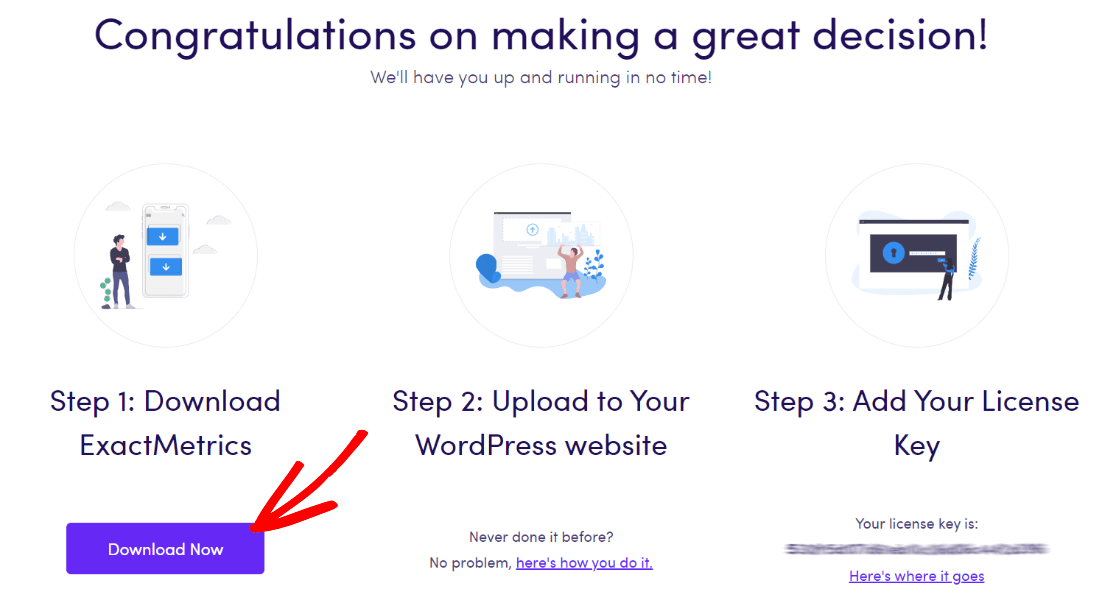
Next, upload it to your website.
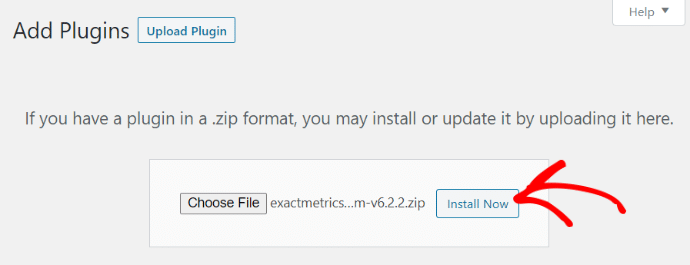
Step 2: Add Your License Key and Connect to Google Analytics
Now that you have ExactMetrics installed, you can add your license key and connect your Google Analytics account. To get set up, click on ExactMetrics under your WordPress Dashboard and click the big green “Launch the wizard!” button.
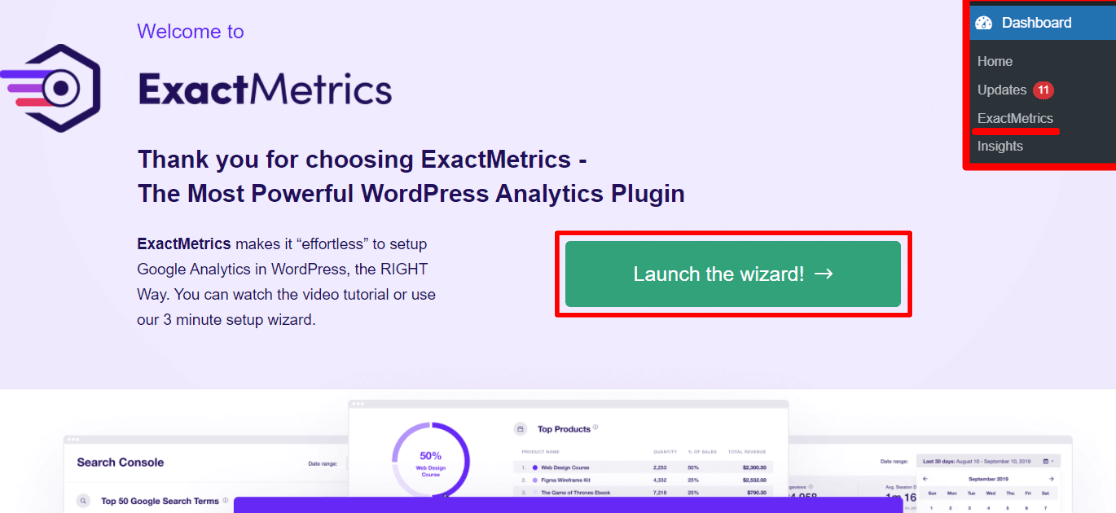
Once you’re in the wizard, you’ll get to this page where you can add your license key and connect with Google Analytics:
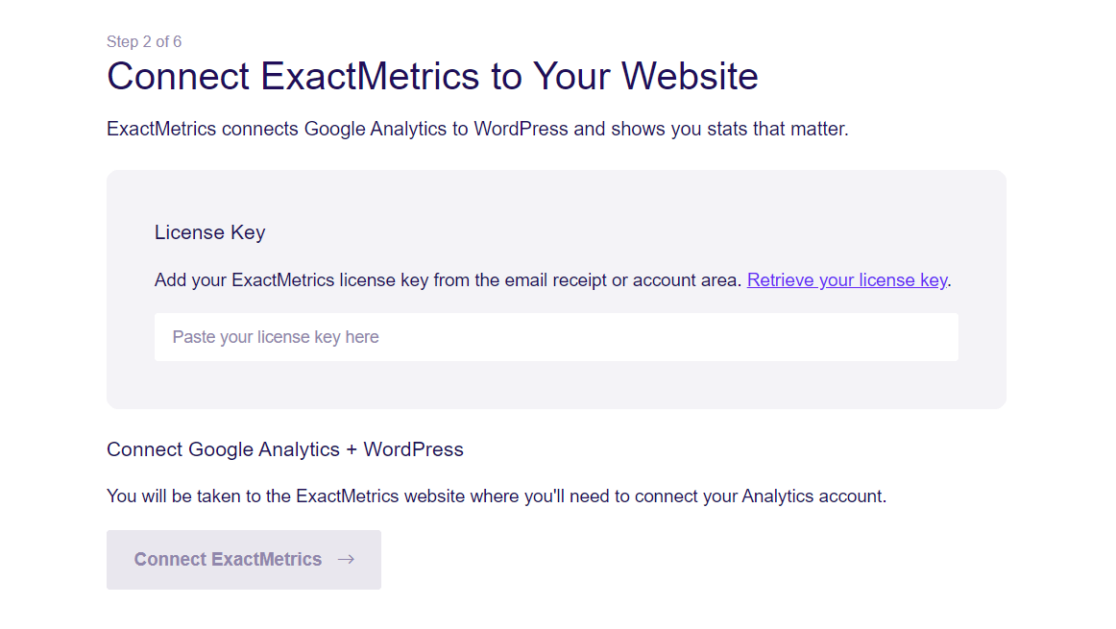
For more details on this step, check out our guide on how to properly add Google Analytics to your WordPress website.
Step 3: Open the Site Speed Report
Once you’ve gone through all the steps in the setup wizard, you can go ahead and access your site speed report. Just head to ExactMetrics » Reports » Site Speed and the test will automatically run.
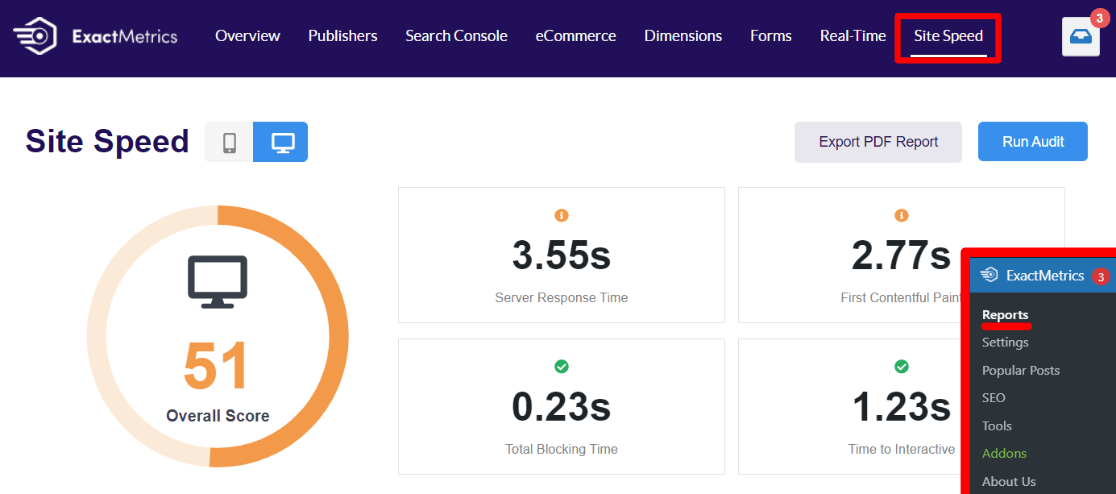
The test will run on the desktop version of your site. To see the test for your mobile site, select the phone button located above your overall score.
Step 4: Expand Improvement Suggestions
Beyond all the scores you see at the top of the report, there are explanations and improvement suggestions for each one down below. Just click one to expand it:
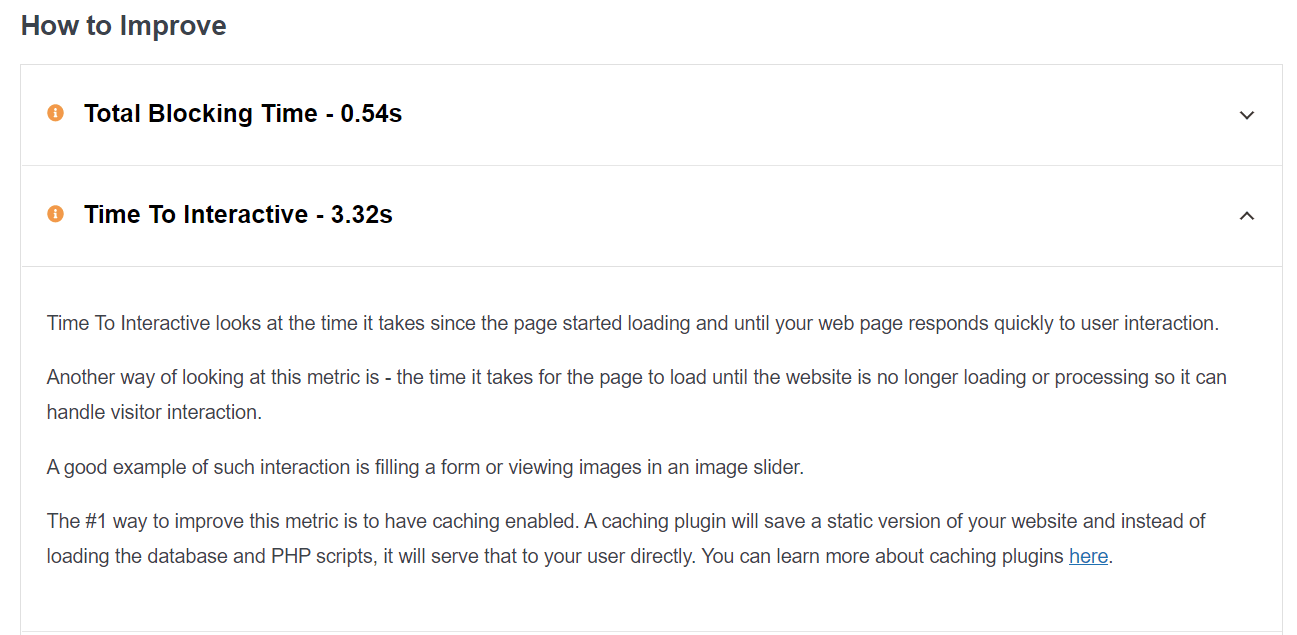
That’s it! You can open the Site Speed report tab any time, as many times as you want to check on your site speed.
Need help speeding up your WordPress site? Read How to Speed Up Your WordPress Site (14 Ways).
Don’t forget to follow us on Twitter and Facebook to see all the latest guides and Google Analytics tutorials.

