Are you looking to create a WordPress landing page to boost traffic, leads, or conversions? Well-designed landing pages can help you run more effective marketing campaigns, drive more visitors to your site, and turn more of those visitors into customers or subscribers.
In this guide, we’ll walk you through the steps to create a landing page in WordPress.
The Benefits of a WordPress Landing Page
WordPress landing pages are special web pages crafted with one goal in mind: to guide visitors toward a specific action, such as making a purchase or signing up for an email list.
Here’s why landing pages are an indispensable part of your marketing toolkit:
- Focused goal achievement: Landing pages are designed to achieve a singular objective, making them highly effective at guiding visitors to take a desired action.
- Higher conversion rates: Compared to general pages on your website, landing pages are tailored to convert a greater portion of visitors into leads or customers due to their focused nature.
- Effective marketing tool: They serve as the endpoint for various marketing campaigns, including paid ads, email marketing, social media, and more, directly funneling traffic toward your goal.
- Customizable calls-to-action: With options to include buy buttons, signup forms, and media play buttons, landing pages can be customized to appeal directly to your target audience.
- Boosts traffic and sales: Using landing pages effectively in your marketing strategy can significantly increase website traffic and sales conversions.
Landing pages can significantly benefit your online strategy by streamlining the path to conversion and maximizing the effectiveness of your marketing efforts.
Next, let’s explore how to create a landing page in WordPress and add it to your site.
How to Create a Landing Page in WordPress
Creating a landing page in WordPress is fairly easy when using a WordPress landing page plugin. Even if you’re not a developer, you can create beautiful, high-converting landing pages in WordPress and boost your website traffic and sales.
Several WordPress landing page plugins are available, but not all are equal in quality.
That’s why we are using our favorite landing page builder plugin, SeedProd, for this tutorial. It’s the best WordPress landing page plugin on the market.
It has an easy drag-and-drop builder, hundreds of WordPress landing page template options, and ready-made landing page blocks to increase conversions.
Let’s get started.
Step 1: Install the SeedProd Plugin
First, visit the SeedProd website and purchase the plugin.
Then, download the plugin file to your computer and copy the license key. Or, if you want to try the free version first, you can download it from wordpress.org.
Next, log into your WordPress admin area and install the plugin. If you need help, follow this guide for installing a WordPress plugin.
After installing, activate the plugin.
Then, enter the license key from your SeedProd account on the welcome screen and click Verify Key.

After verifying, scroll down and click the Create Your First Page button.
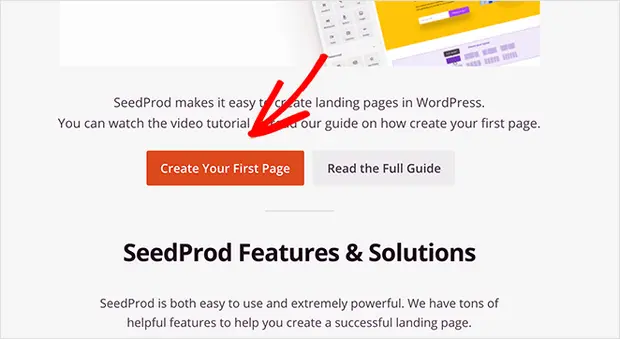
You’ll be redirected to the SeedProd dashboard to create a new landing page.
Step 2: Create a Landing Page with SeedProd
In the SeedProd dashboard, you’ll see options for different page types at the top, for coming soon, maintenance mode, login, and 404 pages.
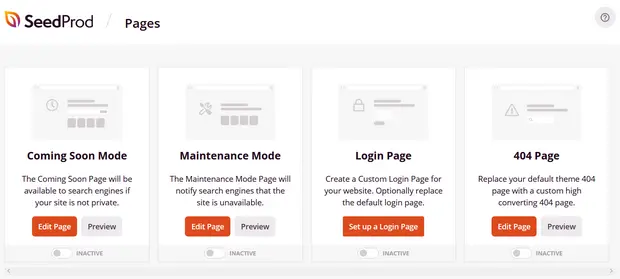
Just below, you’ll find the option to create a landing page.
Click the + Add New Landing Page button to begin.
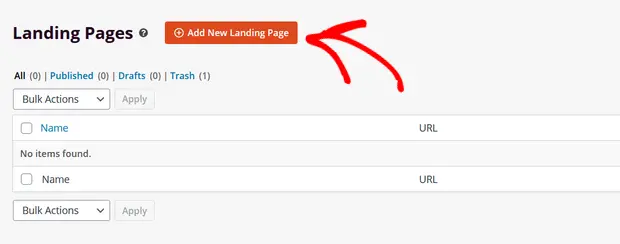
You’ll then be prompted to choose a landing page template. SeedProd offers many beautiful templates from which to choose. When making a sales or marketing landing page, check the Lead Squeeze, Sales, and Webinar template categories.
Or select the blank template to start from scratch.

Hover over your chosen template and click the Checkmark button to use it.
Step 3: Customize the Template
After selecting a template, you’ll be taken to SeedProd’s visual drag-and-drop builder to customize your landing page.
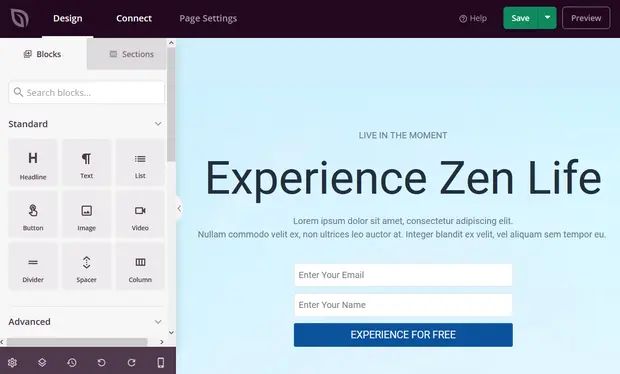
The left sidebar shows landing page sections and blocks you can add. On the right is a live preview of how your page looks.
Customizing is very easy as you click on any element to edit it – change text, styles, colors, alignment, layout, etc., to fit your product or brand.
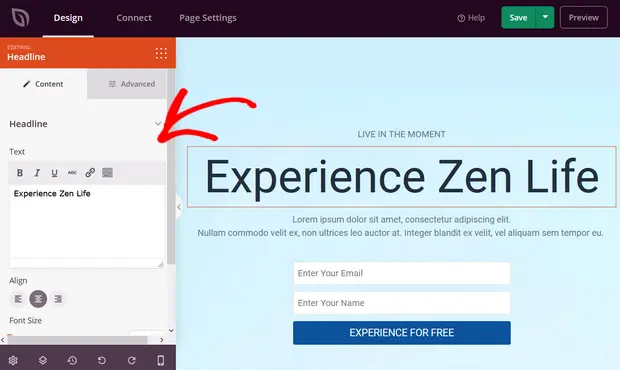
Similarly, click the Global Settings button to change background colors or images.
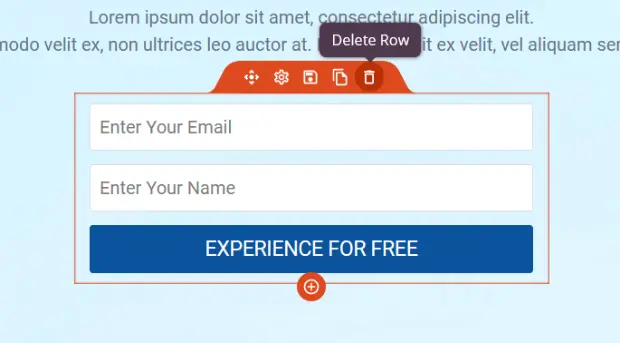
If there are unwanted blocks, you can delete them by clicking the trashcan icon. You can also duplicate blocks, move them around, edit their settings, or save custom blocks.
To add new content like buttons, opt-in forms, contact forms, social links, and more, drag those blocks from the left sidebar onto your page template.
Once added, click on any new block to customize its text, styling, alignment, etc.
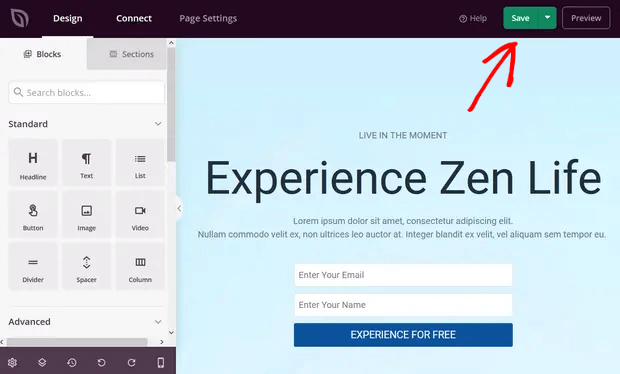
When satisfied with your page, click Save in the top-right.
Step 4: Connect to Your Email Marketing Platform
You must connect your email marketing service if you added an opt-in form to capture leads.
Click the Connect tab at the top and find your email provider in the integration list, like Mailchimp or ConertKit.
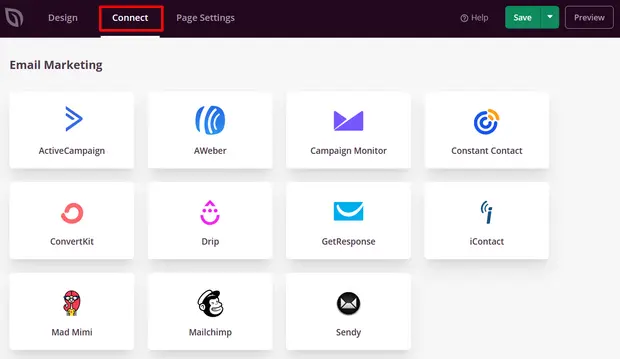
Click Connect New Account and follow the instructions to verify your account.
Now when someone signs up via your landing page, they’ll be automatically added to your email list.
Step 5: Publish Your Page
Finally, it’s time to make your landing page live and add it to your WordPress website.
Click the dropdown next to Save and select Publish.

SeedProd will show a success message once your page is published live.
Click See Live Page to view your published landing page.

That’s it!
Creating WordPress landing pages using the powerful SeedProd builder is an easy process.
How to Track Landing Page Performance
With your landing page live, you can run marketing campaigns to drive traffic and turn more visitors into customers or subscribers.
But you’ll want to monitor how well your landing page is actually performing.
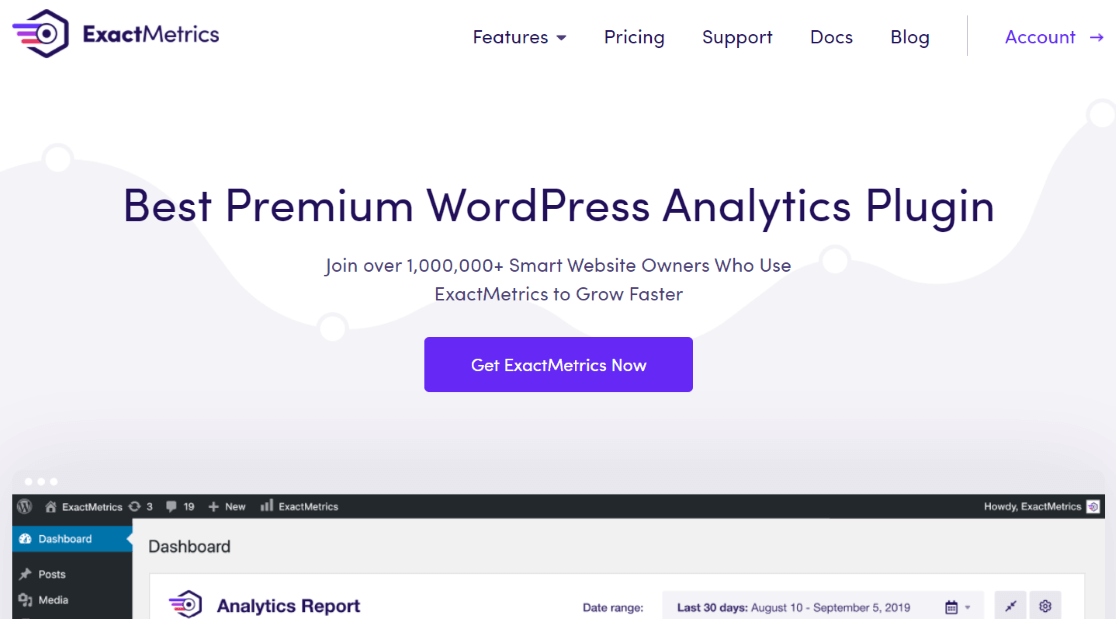
ExactMetrics can help by tracking your landing page visitors and their site interactions.
ExactMetrics is the best Google Analytics premium plugin for WordPress. It lets you easily add Google Analytics tracking to WordPress without editing theme files or using any code.
Once set up, it automatically tracks your analytics and provides clear reports right in your WordPress dashboard.
To view your reports, simply go to ExactMetrics > Reports:
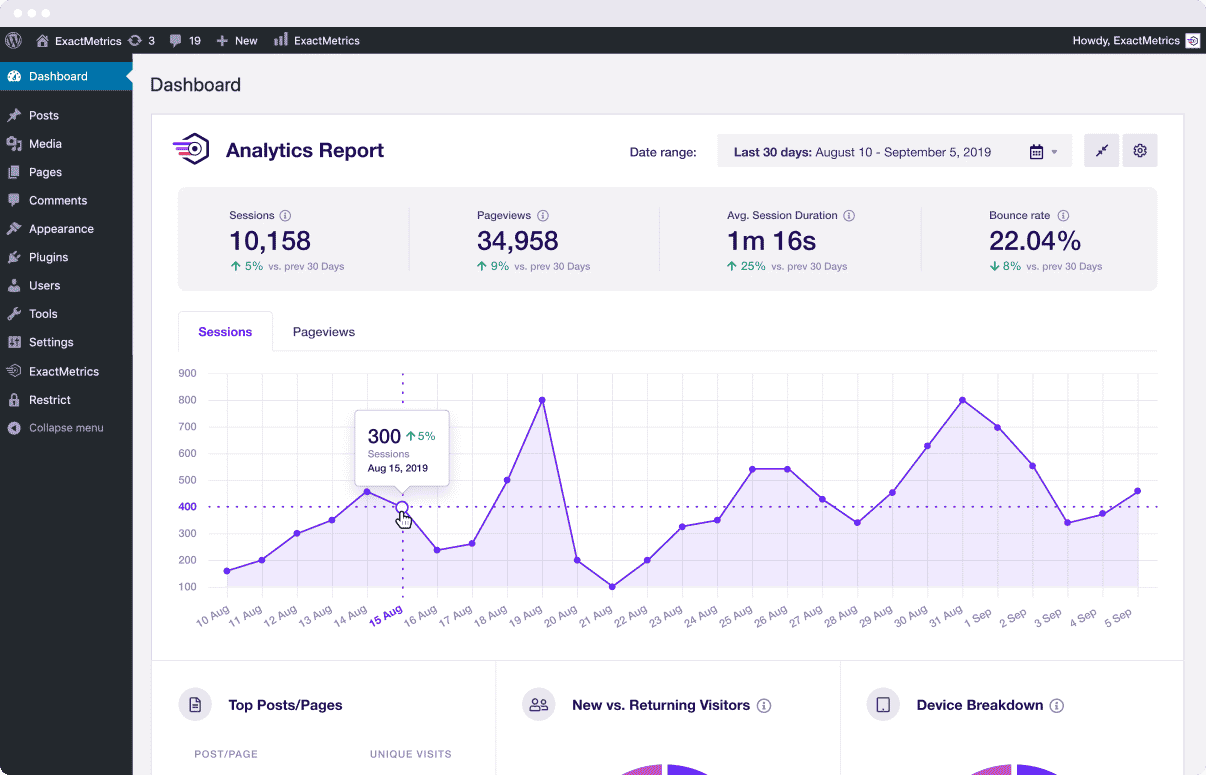
You can view other data by clicking the report links at the top.
You’ll get detailed reports on different aspects of your website, like top landing pages on your site, link and button clicks, your forms, and valuable SEO reports.
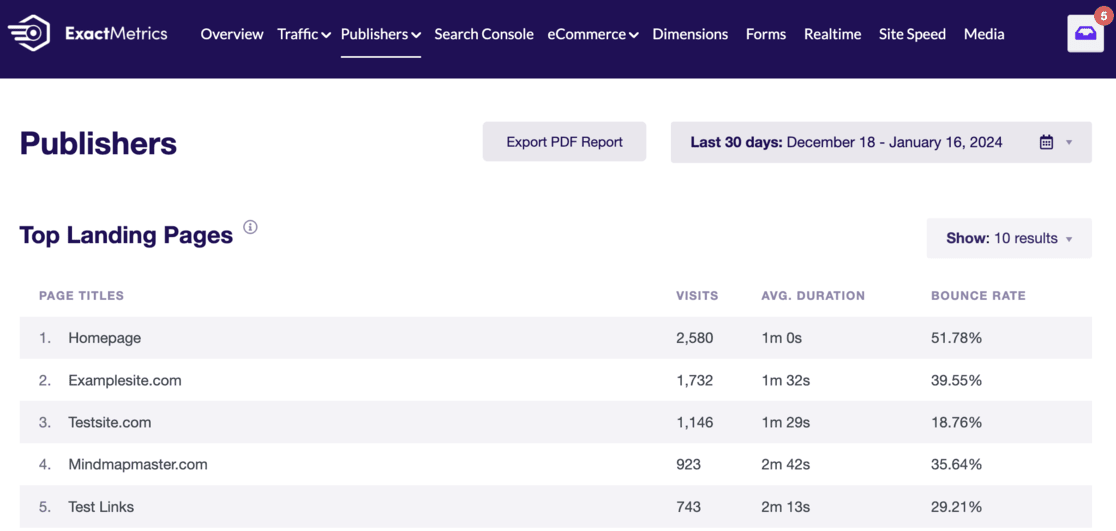
Additionally, ExactMetrics lets you easily set up advanced tracking for downloads, eCommerce, custom dimensions, video plays, and much more.
So if you want to track the stats that matter most to your business, get the ExactMetrics plugin today!
We hope this guide helped you learn how to easily create a WordPress landing page!
If you liked this article, maybe you’d like to read:
- 6 Best WordPress Landing Page Builder Plugins
- How to Track Google Analytics Landing Page Conversions (GA4)
- 15 Simple Ways to Boost Your eCommerce Conversion Rate
Don’t forget to follow us on X and Facebook for the latest tips and tutorials on Google Analytics.


