Having the most current version means you’ll have the latest features, fewest bugs, and the best ExactMetrics experience possible. Follow this guide to learn how to update your ExactMetrics plugin.
There are four ways to update your premium plugin to the latest available version:
- Using the Plugins Menu
- Using the Updates Menu
- Manually Uploading through FTP
- Enabling Auto-updates
The quickest and easiest options are done through your WordPress (Option 1 and 2). The third option may sometimes be necessary if you’re unable to make updates through your dashboard.
1. Using the Plugins Menu
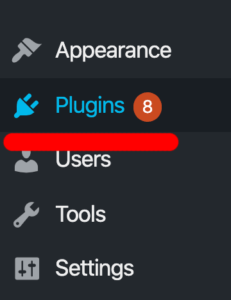
While in your WordPress admin, you’ll be notified of any updates available to your plugins.
Next to the Plugins menu item you’ll see a number:

In this example, there are 8 plugins that have updates available to install.
When you click into the Plugins page, you’ll see notifications under the plugins that have an available update:

Clicking update now will trigger the plugin to update to the latest available version automatically.
2. Using the Updates Menu
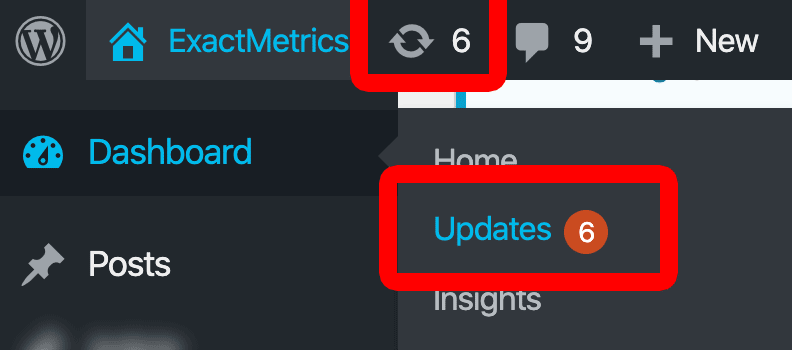
Another way of checking for any available updates is by viewing the icon in the admin bar, or by hovering over the Dashboard menu item, as shown:

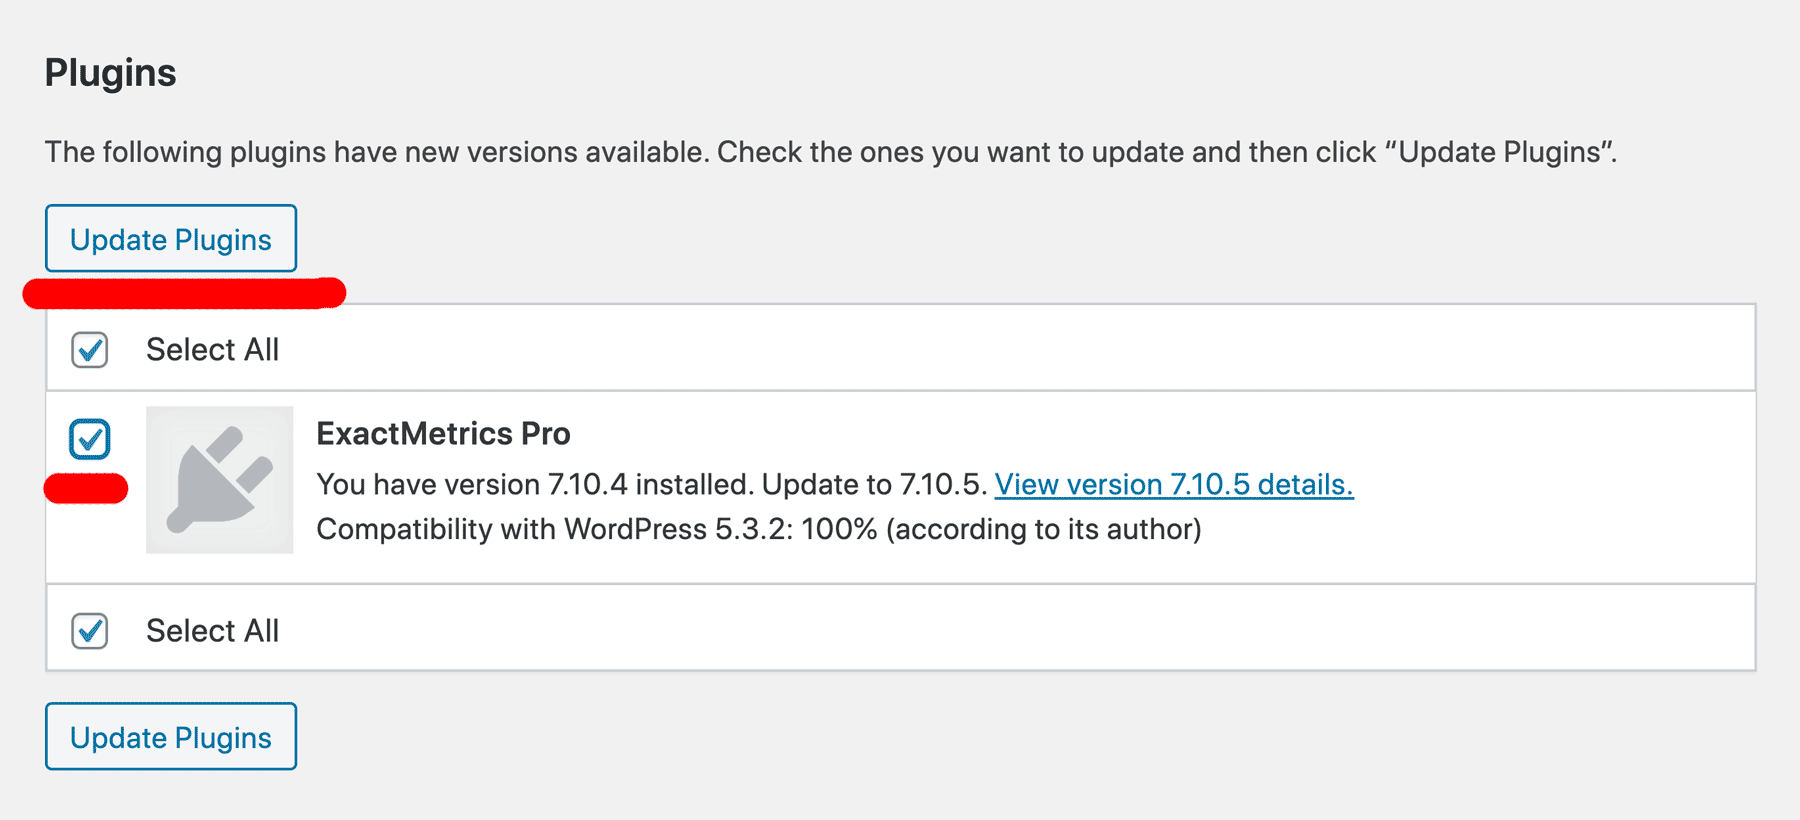
Clicking on Updates will take you to a page that lists all of the items within your WordPress site that need updating:

Within the Plugins section, check ExactMetrics Pro and then click Update Plugins to update to the latest available version automatically.
3. Manually Using FTP
If you’re not able to automatically update your plugin within your WordPress, another option is to manually upload the plugin to your website using an FTP client.
There are a few steps involved:
- First, download the .zip file of ExactMetrics Pro from your account. Navigate into the Downloads tab and download the plugin. Save it to your computer.
- Unzip the .zip file. You will be uploading the folder through FTP.
- With your FTP program of choice, connect to your server and find the WordPress directory called wp-content. Within that directory find your plugins folder. This is where you’ll be uploading the ExactMetrics premium folder. Overwrite the existing plugin folder and files to update your ExactMetrics premium plugin.
Replacing the plugin files with a newer version is the same thing as updating your ExactMetrics plugin. This will not affect your ExactMetrics settings.
For more details on using the FTP method read here: how to use FTP to upload files to WordPress.
4. Enable Auto-updates
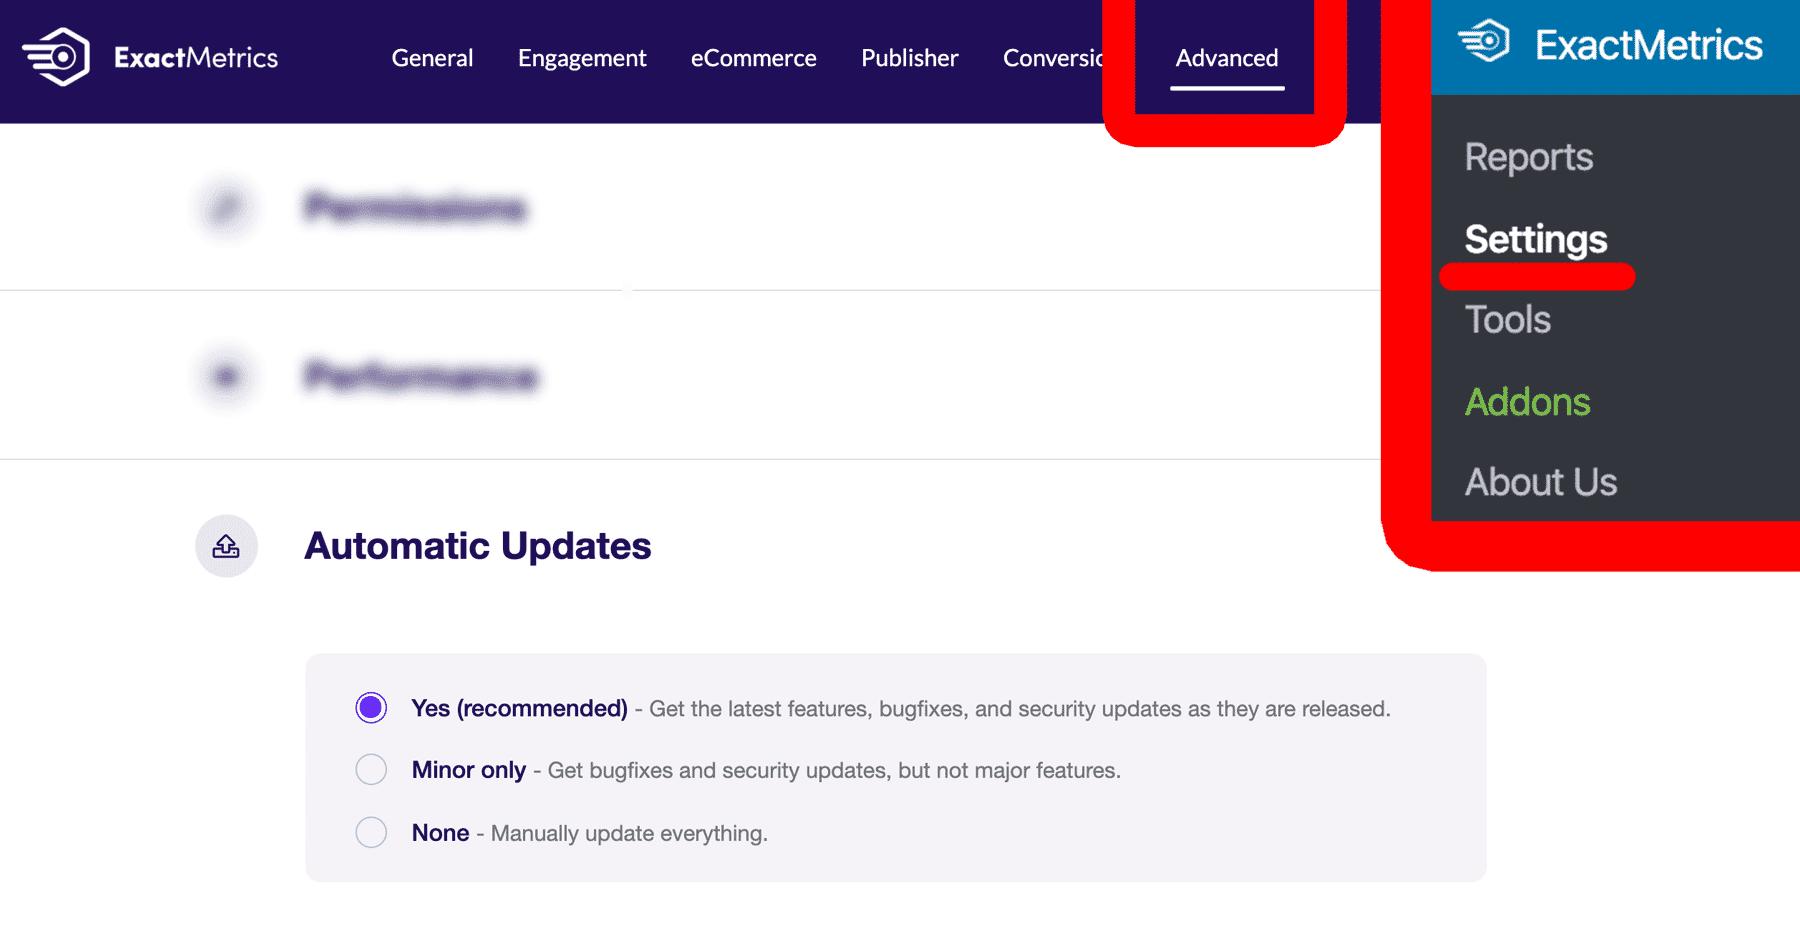
- Within your WordPress admin, open the ExactMetrics » Settings » Advanced page.
- Find the section called Automatic Updates.
- Toggle “Yes” to enable Automatic Updates.


