Are you looking to set up an adjusted bounce rate in Google Analytics?
Bounce Rate: The number of users that visit your site to only click the back button or close the tab without any further interaction with your website.
If you run a blog, it’s expected that your bounce rate will be high. However, you can adjust the bounce rate to better reflect your visitor’s behavior on your website, especially for visitors who spend a long time reading your content because they’d found what they’re looking for. This activity could be considered a success.
With ExactMetrics, you can adjust your bounce rate in Google Analytics. Follow this guide to learn how to make changes for users that stay on your page for at least 20 seconds or more.
Prerequisites:
- You’ve already installed and activated ExactMetrics.
- You’ve already connected ExactMetrics with Google Analytics.
- You are using the latest version of ExactMetrics (6.0.0 or later is required).
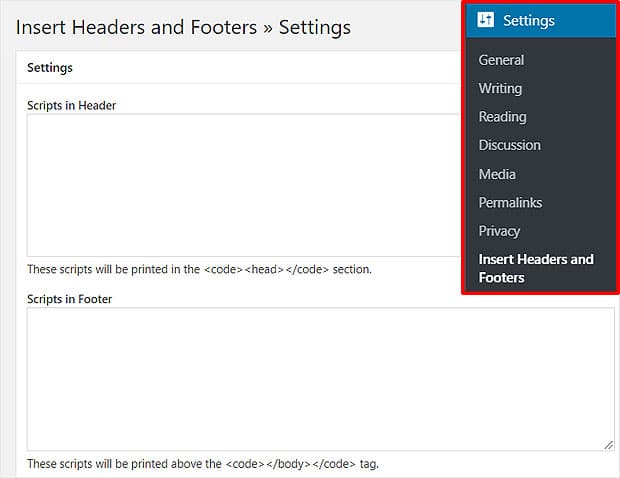
Step 1: Within your WordPress dashboard, install the Insert Header and Footers plugin and go to Settings » Insert Headers and Footers:

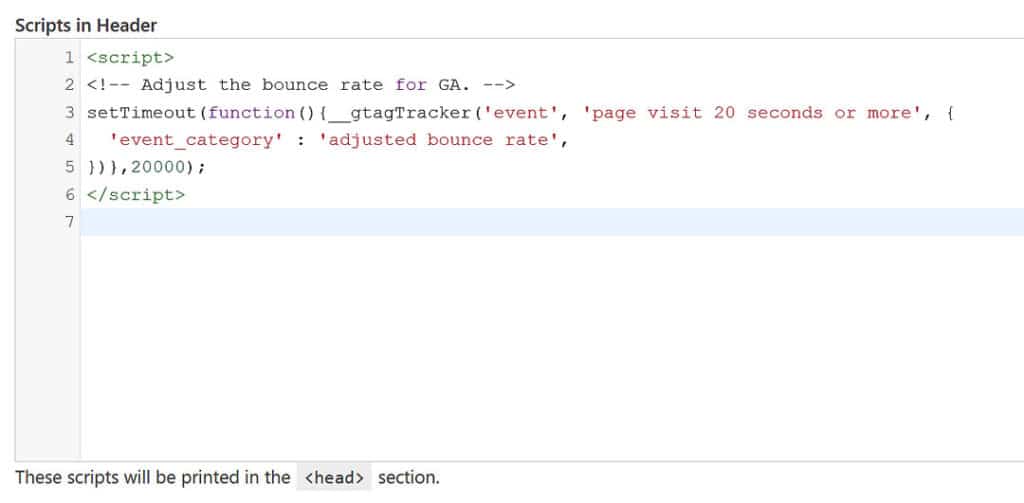
Step 2: Copy and paste this snippet into the Scripts in Header section:
<script>
// Adjust the bounce rate for GA.
setTimeout(function(){__gtagTracker('event', 'page visit 20 seconds or more', {
  'event_category' : 'adjusted bounce rate',
})},20000);
</script>

You’ve just inserted a snippet that defines a page visit as 20 seconds or more. If you want to adjust that number to 40 seconds, you would change 20000 to 40000 (the expected value needs to be in milliseconds).
You did it! You’ve adjusted the bounce rate on your website to not include users who spend 20 seconds or more while on your website.
What’s next? Learn about Google Search Console and how it can assist in improving your site’s ranking in Google’s search results: How to Verify Your Site in Google Search Console with Google Analytics.

