Are you interested in adding a new view within Google Analytics? Follow this guide to learn how to create views within your account, while also learning how to manage views to avoid accidentally losing data.
What is a view in Google Analytics?
A view is where you can access reports and analysis tools within a Google Analytics profile.
Data collected on your website will appear in views associated with your website’s Google Analytics property, unless a view has been configured with filters to exclude specific data.
Google Analytics automatically creates an unfiltered view for each property, but you can add up to 25 views on a single property.
Why Create Another View in Google Analytics?
Here are some examples of why you’d need to create a view:
You want to filter out referral spam to better analyze your site’s performance without the distortion caused by fake hits from a spammer website.
You’re wanting to track users who are logged into your website. In this case, you’ll want to create a User-ID view for your property. Follow this guide here: How to Set Up User Tracking in Google Analytics.
You’re wanting to analyze traffic from a specific subdomain such as blog.yoursite.com or shop.yoursite.com
You’re wanting to analyze traffic from a specific directory such as yoursite.com/en/ or yoursite.com/de/
Understanding Properties, Accounts, and Views in Google Analytics
There are three different levels within your Analytics profile: accounts, properties, and views.
An Account is where all of your data is contained for all of your websites. Having at least one account is required to access reports.
A Property has a unique tracking ID and can be a website or a mobile app. ExactMetrics associates properties to websites.
A View is where you can see data for your property.
How to Add a New View in Google Analytics
- You already have a Google Analytics account.
- You already created a Property for your website.
Step 1: Log into your Google Analytics account.
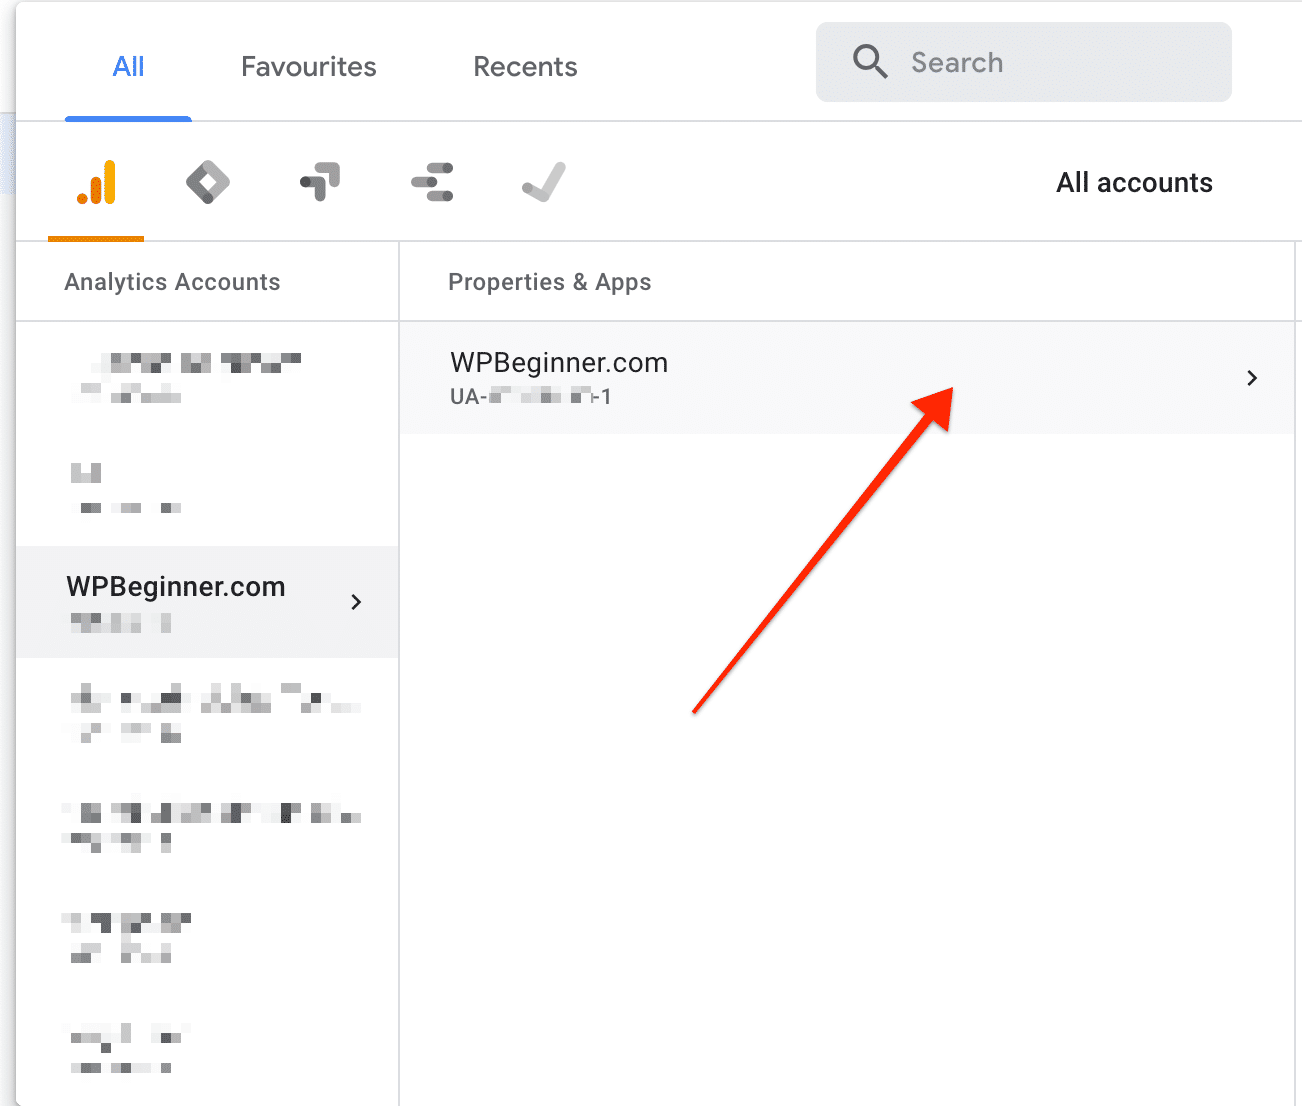
Step 2: Select the proper account associated with your website.

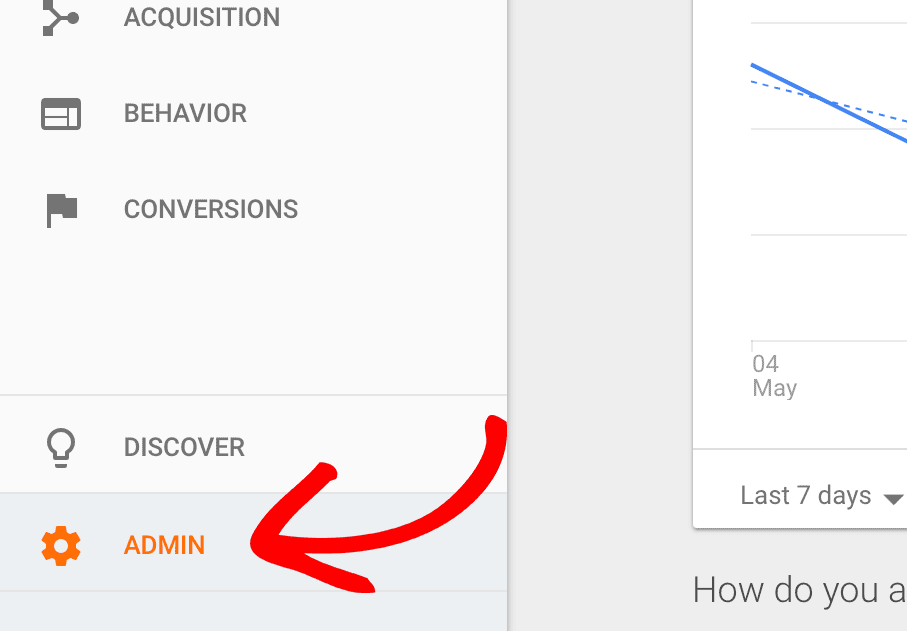
Step 3: Click into Admin.

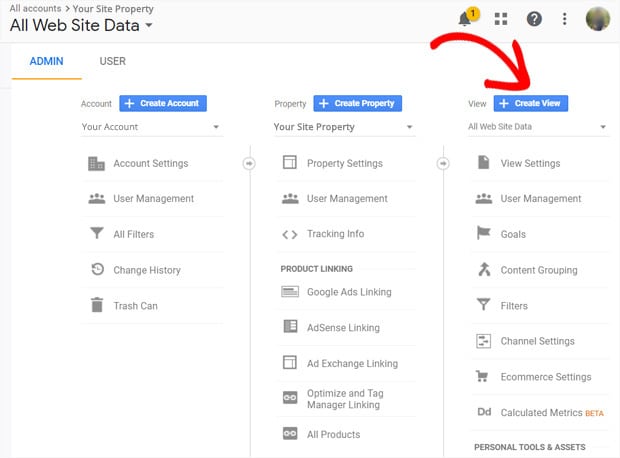
Step 4: Click the + Create View button.

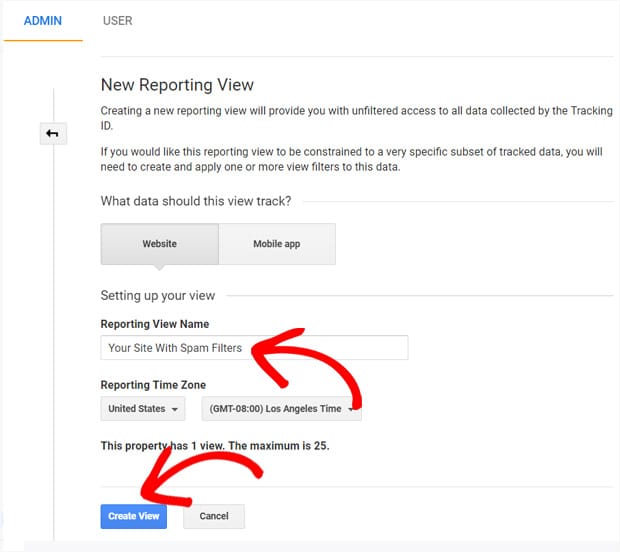
Step 5: You will be asked to provide a descriptive name and the correct time zone.

Step 6: Click Create View to finish.
You did it! You created a new view for your property.
A quick reminder to always set aside a view with no filters to preserve your data.
What’s next? Learn about User-ID tracking from our guide: How to Set Up User Tracking in Google Analytics.

